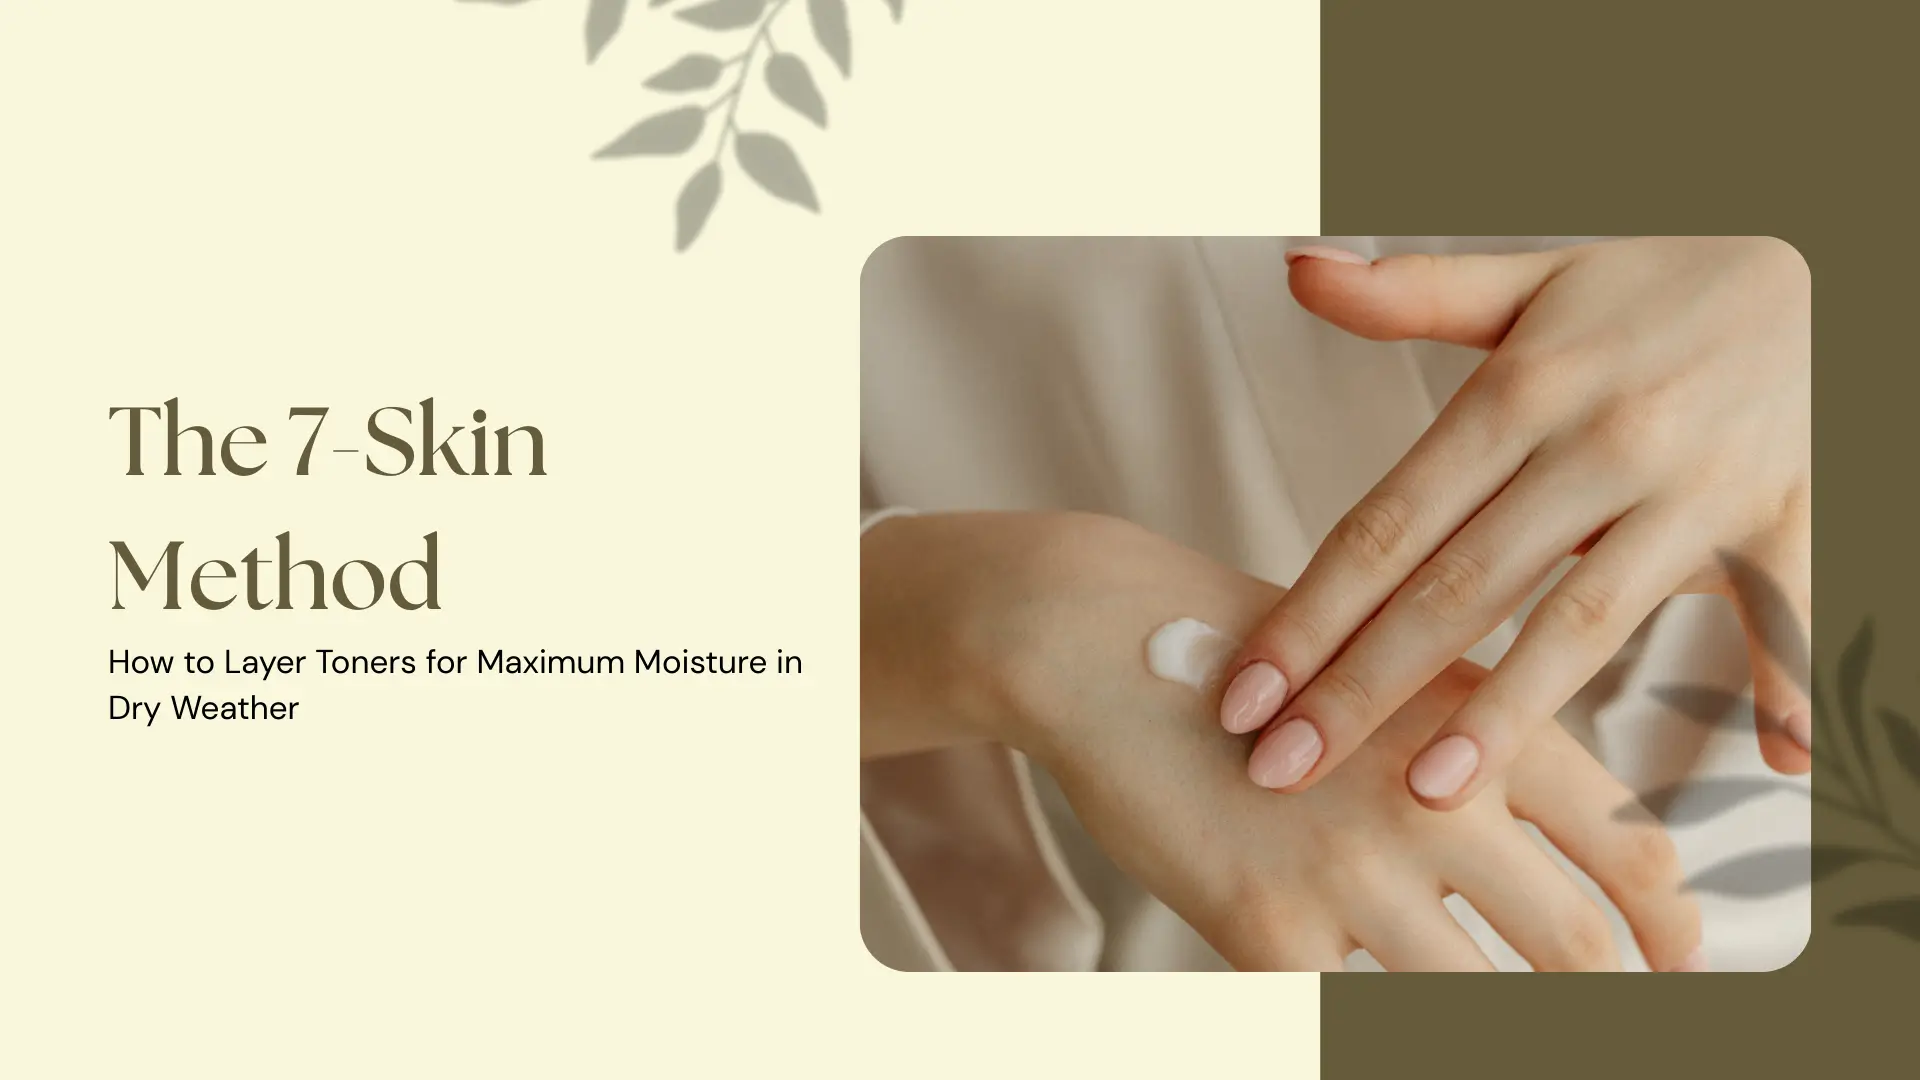
“It felt like my face was sipping water… layer after layer…”
If you live in Canada, the U.S., or the UK, you know how harsh winter or dry indoor heating can strip moisture from your skin. That’s where the K-beauty 7-Skin Method becomes a game changer. By layering hydrating toners (or watery essences) multiple times in thin layers, you give your skin successive sips of moisture without heaviness.
In this post, I’ll break down everything you need to know:
- What exactly is the 7-Skin Method
- Why it works (science + barrier function)
- How to do it step by step, especially in dry or cold climates
- How to adapt it for different skin types
- Pitfalls, cautions, and frequency
- Suggested toners / essences
- My experiment & results in a cold climate
- FAQs
By the end, you (and your skin) should feel empowered to try this K-beauty hydration ritual especially when winter leaves your skin begging for moisture.
What Is the 7-Skin Method?
The origin & name
In Korean skincare, the word “skin” often refers to what we call “toner” or “essence.” So “7-Skin” doesn’t mean seven layers of moisturizer it means up to seven layers of toner or watery essence.
Instead of one heavy splash of toner, the method applies thin layers, waiting for each to absorb before applying the next. This helps hydration sink deeper and gives the skin time to “drink” it.
Though “7” is the maximum, many practitioners stop at 3–5 layers depending on their skin’s needs.
Why layering works: the science behind “sip, sip, sip”
Here’s a way to think of it: If you pour a big cup of water into dry soil, a lot runs off or pools. But if you add small amounts at a time, the soil absorbs better. With skin, layering light hydration encourages deeper absorption without overburdening the barrier.
Some principles that make the 7-Skin method effective:
- Humectants (like hyaluronic acid, glycerin, panthenol) draw water from environment or deeper layers of skin. With each layer, you supply more humectants to attract moisture.
- Skin barrier restoration hydrating layers support barrier lipids and prevent transepidermal water loss (TEWL).
- Priming for absorption each layer makes the skin more receptive to the next, prepping it for serums and moisturizers.
- Avoiding heaviness because each layer is light, you avoid the greasy / sticky feel you might get with thick creams.
This is why the 7-Skin method is known to produce that coveted glass-skin glow a plump, translucent, dewy finish without heaviness.
How to Do the 7-Skin Method in Dry or Cold Weather (Step by Step)
Below is a full routine, optimized for climates like Canada’s winter or dry-humid climates.
Step 1: Start with a gentle cleanse
You want a clean but not stripped canvas. In dry weather, avoid harsh foaming cleansers. Use a gentle gel, cream, or oil cleanser (double cleanse in evening if you wear makeup/sunscreen).
Pat skin lightly leave it slightly damp (not dripping). That bit of moisture helps “kickstart” absorption of your first toner layer.
Step 2: Use the right toner / watery essence
Choose a hydrating, alcohol-free, non-exfoliating toner or essence. Avoid toners with strong acids, heavy fragrance, or alcohol as they may irritate when layered multiple times.
Look for ingredients like:
- Hyaluronic acid (multiple molecular weights)
- Glycerin
- Panthenol (pro-vitamin B5)
- Centella asiatica, green tea, niacinamide (if gentle)
- Fermented extracts (rice ferment, etc.)
Step 3: Apply first layer immediately, while skin is slightly damp
Apply a small amount (pea- to dime-sized) either by:
- Hands pour into palms and pat; or
- Cotton pad gentle press onto skin
Gently pat or press the product in. Don’t rub. Wait ~10–20 seconds for it to absorb.
Steps 4–7: Repeat layering until the skin feels comfortably hydrated
- After the first layer is absorbed (skin doesn’t feel wet or sticky), apply the second.
- Continue until 4, 5, up to 7 layers but stop when skin feels plump, comfortable, not tight or heavy.
- In extreme dryness, you might do all 7; in milder times, just 3–5 may suffice.
In dry climates, allow slightly longer absorption time (15–30 seconds) between layers so none evaporates prematurely.
Step 8: Follow with serum or actives (optional)
If you use serums (vitamin C, peptides, etc.), apply them after your toner layering stage. The skin is now primed to absorb. Use light serums first, heavier later.
Step 9: Lock everything in with moisturizer or cream
This is crucial in dry/cold weather. Use a rich but non-comedogenic moisturizer (or barrier cream) to seal in hydration. Consider an occlusive (squalane, ceramide-lipid mix) on top if your skin allows.
Step 10 (Optional): Overnight mask or facial oil top-up
On very cold nights or when your skin feels especially parched, use a sleeping mask or lightweight oil as the final layer to act like a moisture blanket.
How to Adjust for Different Skin Types & Climates
This method is flexible. Here’s how to adapt it:
| Skin Type / Condition | Suggested Approach / Adjustments |
|---|---|
| Very dry / winter climates | Use full 7 layers; allow extra absorption time; use richer moisturizer. |
| Normal / combo | 3–5 layers may suffice; stop early if skin feels “full.” |
| Oily / acne-prone | Keep layers minimal (3–4 max), use ultra-light toners, and always finish with a gel moisturizer. |
| Sensitive / reactive skin | Test 1–2 layers first; ensure toner is fragrance-free, gentle; skip this method on days you use actives. |
| Hot / humid weather | May do fewer layers (2–4) or skip entirely, as excess humidity can cause pilling. |
You don’t have to do 7 every time. Many K-beauty bloggers do a “3-Skin Method” on lighter days.
Pitfalls / Common Mistakes & How to Avoid Them
- Using the wrong toner (with alcohol / acids / heavy fragrance)
Because you’re layering, any irritant will be amplified. Stick to ultra-gentle, hydrating formulas. - Not waiting between layers
If you stack too quickly, the product can just sit on the surface or evaporate. Wait ~10–30 seconds or until each layer feels “set.” - Applying too much product each layer
You don’t need a full pump each time thin layers only. Too much may cause stickiness or pilling. - Skipping the final seal (moisturizer / barrier cream)
Without locking it in, hydration will evaporate, especially in dry air. - Overdoing on active nights
If you’re using retinoids, acids, or exfoliants, layering toners 7 times might stress the barrier. Use this method on alternate nights or separate routines. - Expecting results overnight
This is a habit-building hydration ritual. Typically, you’ll notice smoother, more supple skin in ~2–4 weeks of consistent use. - Pilling / conflicts with other products
Always test with your serums / creams. If pilling happens, reduce layers or check product compatibility.
Why This Method Is Especially Relevant for Canadians / Western Climates
- Cold, dry air & indoor heating leads to rapid moisture loss (TEWL). The 7-skin method is a hydration buffer against that.
- Layering allows gradual absorption, making it easier for skin under stress from seasonal shifts.
- Western audiences often skip toners or use toners as “step 2 cleanser”; this method repositions toner as a core hydration step.
- Many skincare routines in the West are heavy with actives / serums adding hydration-first can rescue a compromised barrier.
- It’s a cost-effective ritual: using one good toner well, rather than stacking dozens of products.
FAQs (with Answers)
Q: Do I have to do all 7 layers?
A: No 7 is the maximum. Many people find 3–5 layers sufficient, especially outside dry conditions. The key is layering until skin feels comfortably hydrated, not forcing all seven.
Q: Can I use active ingredients (like retinol, vitamin C, acids) in the same routine?
A: It’s safer to separate them. Use the 7-skin hydration method in nights when you’re not using strong actives, or cut back on layers on active nights.
Q: Will it make my face greasy or heavy?
A: Done correctly (thin layers, gentle toner), the 7-skin method gives a dewy, plumped look not greasy or sticky provided you seal with a proper moisturizer.
Q: How often should I do this?
A: Daily is possible, especially in very dry climates. But if your skin starts feeling irritated or tight, reduce to alternate days or do fewer layers.
Q: Is this method only for dry skin?
A: No. It’s primarily a hydration ritual, so it can benefit many skin types. Oily or acne-prone skin may prefer fewer layers and lightweight formulas.
Q: Does it help with anti-aging or brightening?
A: The focus is hydration and barrier support. However, by improving barrier function and allowing better absorption of serums, it indirectly supports other goals.
Q: Is there a risk of over-layering or damaging the skin barrier?
A: Yes if using harsh toners, too many layers, or combining with irritating actives, you could stress the barrier. Always listen to your skin and patch test.